本文是开源项目 GitHub: wlonestar/simple-fts 的开发教程。
使用 PostgresSQL 数据库中的全文搜索对表中基于字符的数据运行全文查询,编写一个简易的前后端部署到云服务器上。
Table of contents
安装数据库中文分词插件
PostgresSQL 官方不支持中文的分词,需要下载中文分词插件,这里选用 pg_jieba
cd ~ && git clone https://github.com/jaiminpan/pg_jiebacd pg_jieba && git submodule update --init --recursivemkdir build && cd build# 根据 PostgresSQL 版本决定cmake -DPostgreSQL_TYPE_INCLUDE_DIR=/usr/include/postgresql/14/server ..make && sudo make install创建数据表
(1) 在对应的数据库安装插件
\c <db_name>create extension pg_jieba;(2) 创建表并插件部分数据
CREATE TABLE article ( id serial PRIMARY KEY, title varchar(40) not null, content text not null);INSERT INTO article(id, title, content) VALUES ...(3) 构建文章索引
tsvector 和 tsquery 是 PostgreSQL 中全文搜索的两个关键概念。
tsvector 是一种数据类型,可以存储文本数据中的单词及其频率。它通常用于存储全文索引,使得 PostgreSQL 可以快速地搜索文本数据。tsquery 是一个查询语言,用于搜索 tsvector 中的文本数据。它可以包含搜索字词、逻辑运算符和通配符等元素,以便更加高效地搜索文本数据。
这里我们向表添加一个名为 fts 的属性,类型为 tsvector,存储每一行出现的单词的频率,并给标题和内容设不同的权重。
alter table article add column fts tsvector;update articleset fts = setweight(to_tsvector('jiebacfg', title), 'A') || setweight(to_tsvector('jiebacfg', content), 'B');create index arfts_gin_index on article using gin(fts);(4) 添加触发器使得文章内容修改时更新索引内容
create trigger trig_article_insert_updatebefore insert or update of title, "content" on articlefor each rowexecute proceduretsvector_update_trigger(fts, 'public.jiebacfg', title, content);(5) 编写查询语句测试
select * from article where fts @@ to_tsquery('搜索');select * from article where fts @@ to_tsquery('技术 & 数据');select * from article where fts @@ to_tsquery('搜索 | 数据');编写后端项目
后端项目基于 Spring Boot 开发,通过 API 和前端通信,数据格式为 JSON。我们这里提供两个查询接口:
-
/api/article/, 返回所有数据 -
/api/article/search?query=,根据参数返回查询结果
@RequestMapping(method = RequestMethod.GET, path = "/")public List<Article> findAll() {  return articleService.findAll();}
@RequestMapping(method = RequestMethod.GET, path = "/search")public List<Article> searchByKeyword(@RequestParam("query") String keyword) {  return articleService.searchByKeyword(keyword);}
使用 Spring Data JPA 作为 ORM 层, 可以在 Java 代码中使用注解的方式写比较短的查询语句,这里只实现一个单关键词查询的功能,多关键词可以在此基础上添加。
@Repositorypublic interface ArticleRepository extends JpaRepository<Article, Long> { @Query(value = "select * from article where fts @@ to_tsquery(?1)", nativeQuery = true) List<Article> findByKeyword(String keyword);}编写前端项目
前端项目基于 React 开发,使用 React 的函数式组件快速编写页面及查询逻辑。
(1) 数据列表:根据传入的数据数组,每个元素对应表格中的一行
const List = ({articles}: ListProps) => { return <table> <thead><tr> <th>id</th> <th>标题</th> <th>内容</th> </tr></thead> <tbody> {articles.map(article => ( <tr key={article.id}> <td>{article.id}</td> <td>{article.title}</td> <td>{article.content}</td> </tr> ))} </tbody> </table>}(2) 搜索表单:创建一个输入框和一个按钮,按下按钮后,根据输入框的内容查询数据,对数据进行更新。
const Search =({setArticles}: SearchProps) => { const [param, setParam] = useState<string>('') const handleClick = () => { axios.get(`/api/article/search?query=${param}`) .then((res) => {setArticles(res.data)}) } return <> <input type="text" value={param} onChange={(evt) => {setParam(evt.target.value)}} /> <button type="button" onClick={handleClick}>搜索</button> </>}(3) 首页组合两个组件,使用自定义钩子在页面渲染完成后获取所有数据。
function App() { const [articles, setArticles] = useState<Article[]>([]) useMount(() => { axios.get('/api/article/').then((res) => { setArticles(res.data) }) }) return <> <Search articles={articles} setArticles={setArticles} /> <List articles={articles} /> </>}(4) 设置代理,将后端 API 代理到 /api。
export default defineConfig({ plugins: [react()], server: { proxy: { '/api': { target: 'http://127.0.0.1:8088', changeOrigin: true, secure: false, ws: false, }, } }})部署到云服务器
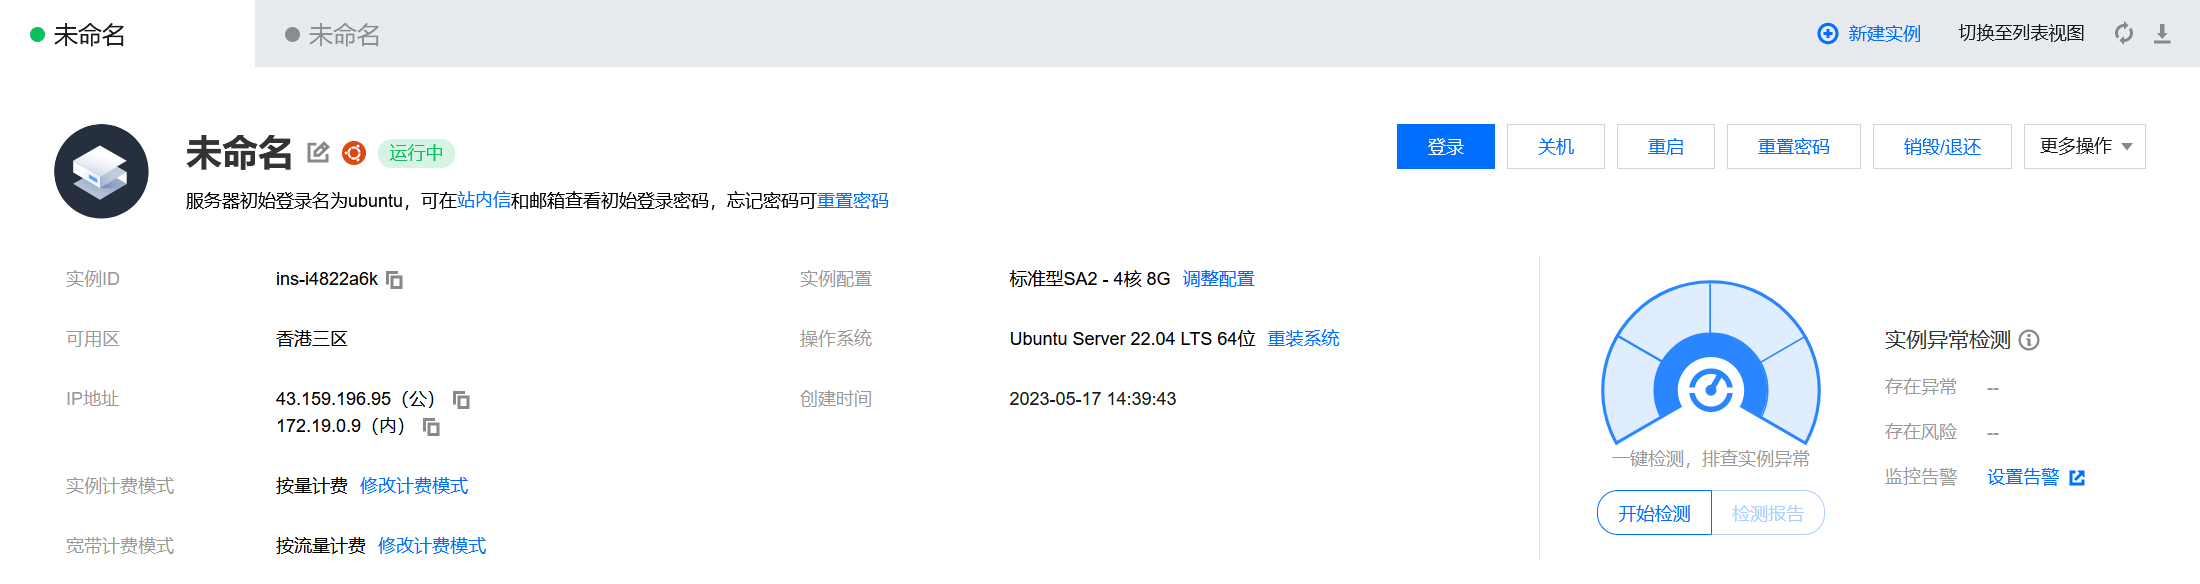
这里购买了一台按量付费的 4 核 8G 的 Ubuntu2204 的云服务器,地址选在中国香港网速会快上不少。
(1) 更新系统并安装 PostgreSQL 数据库和 Nginx
sudo apt-get install build-essential cmake make g++ gcc gdb \ postgresql-14 postgresql-contrib libpq-dev postgresql-server-dev-14 \ nginx -y
(2) 修改 PostgreSQL 数据库密码
sudo -u postgres psql postgres# alter user postgres with password '123456';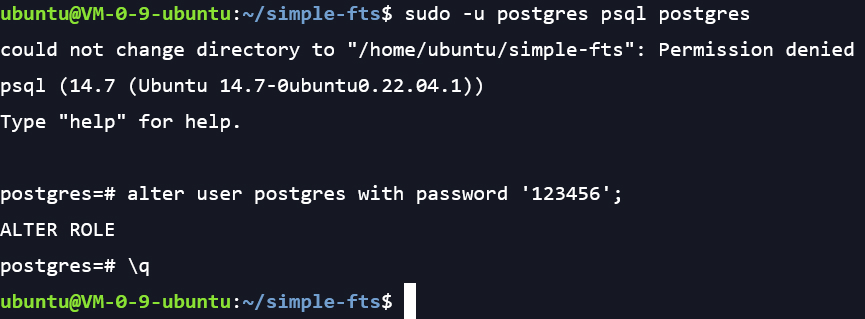
(3) 安装运行项目必要的环境,JDK, node 等等
sudo apt-get install openjdk-17-jdk -ycurl -o- https://raw.githubusercontent.com/nvm-sh/nvm/v0.39.3/install.sh | bashsource ~/.bashrcnvm install 18.16.0 && nvm install-latest-npmnpm install -g yarn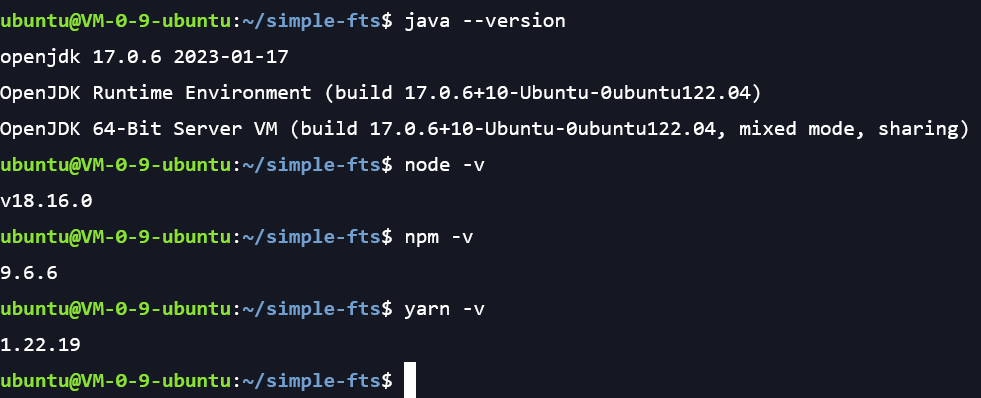
(4) 安装中文分词插件并创建数据表,这部分前面已经介绍过了
sudo -u postgres psql postgres < ./script.sql
(5) 修改 Nginx 配置文件
这里我们使用 Nginx 的反向代理功能,将前端运行的 5173 端口映射到 80 端口的根路径下,将后端运行的 8088 端口映射到 80 端口的 /api 路径下。
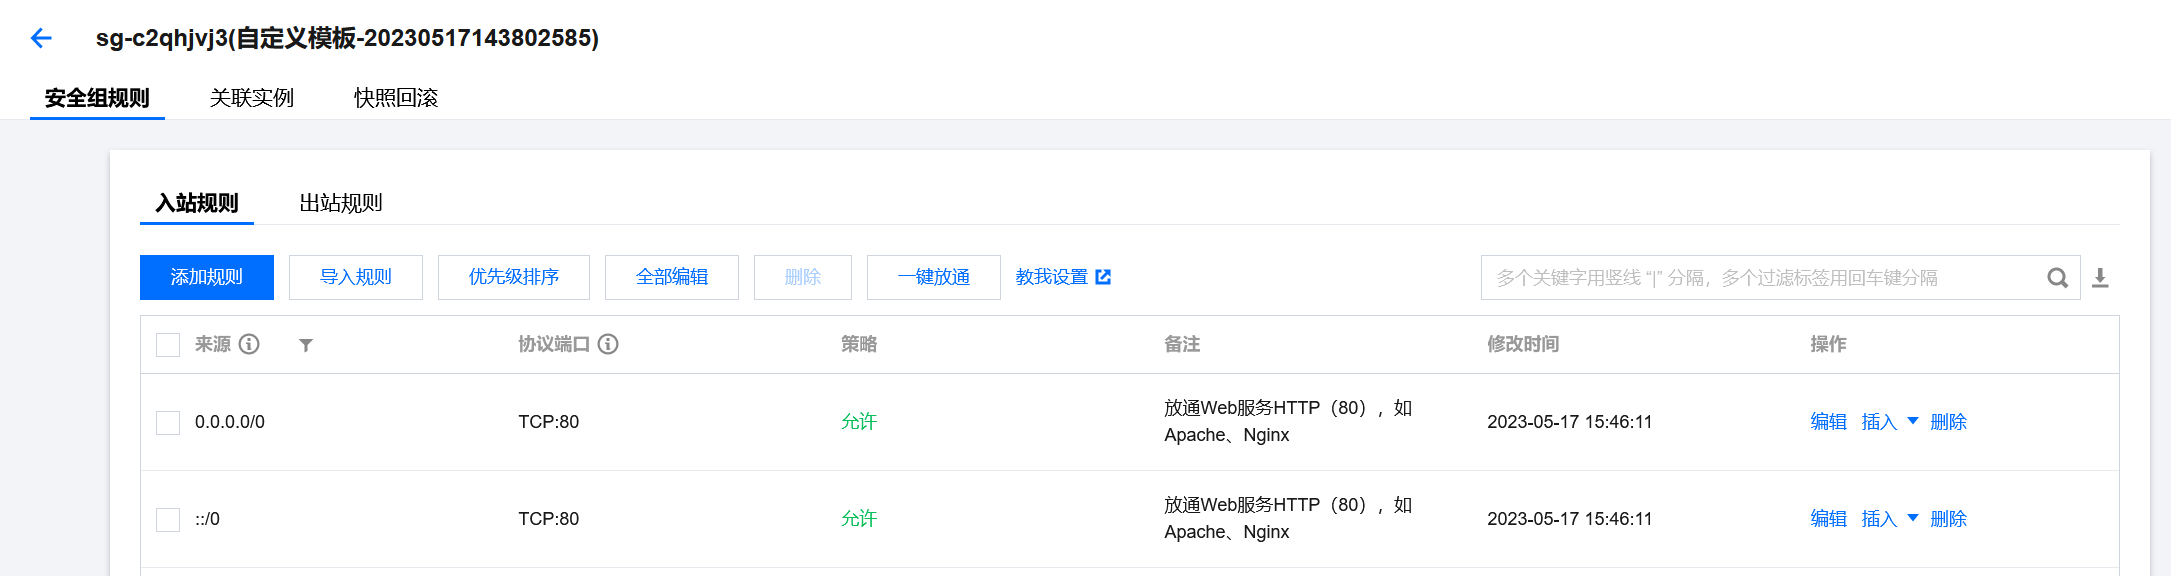
注意要将服务器的名字改成服务器的公网 IP,如果有域名可以设置为域名,直接通过域名来访问。此时还需要在腾讯云的管理页面打开 80 端口。
http { # ... client_max_body_size 100M; server { listen 80; server_name <ip>; location / { proxy_pass http://localhost:5173; proxy_set_header Host $host; proxy_set_header X-Real-IP $remote_addr; } location /api { proxy_pass http://localhost:8088; proxy_set_header Host $host; proxy_set_header X-Real-IP $remote_addr; proxy_set_header X-Forwarded-For $proxy_add_x_forwarded_for; } } # ...}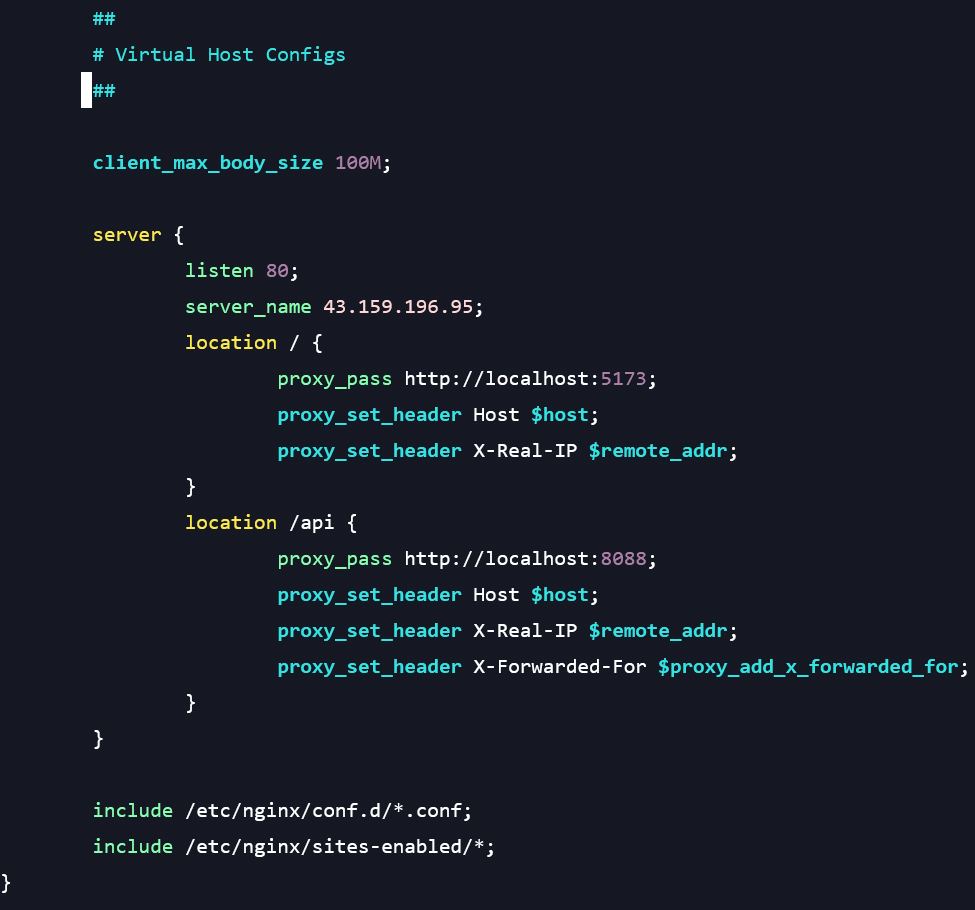
(6) 运行前后端项目
重启 Nginx 使得更改生效
cd ./server && ./gradlew bootJar && \ nohup java -jar ./build/libs/fts-0.0.1.jar > server.log 2>&1 &cd ./app && yarn && \ nohup yarn dev > app.log 2>&1 &sudo service nginx restart通过 IP 访问网站,查下效果
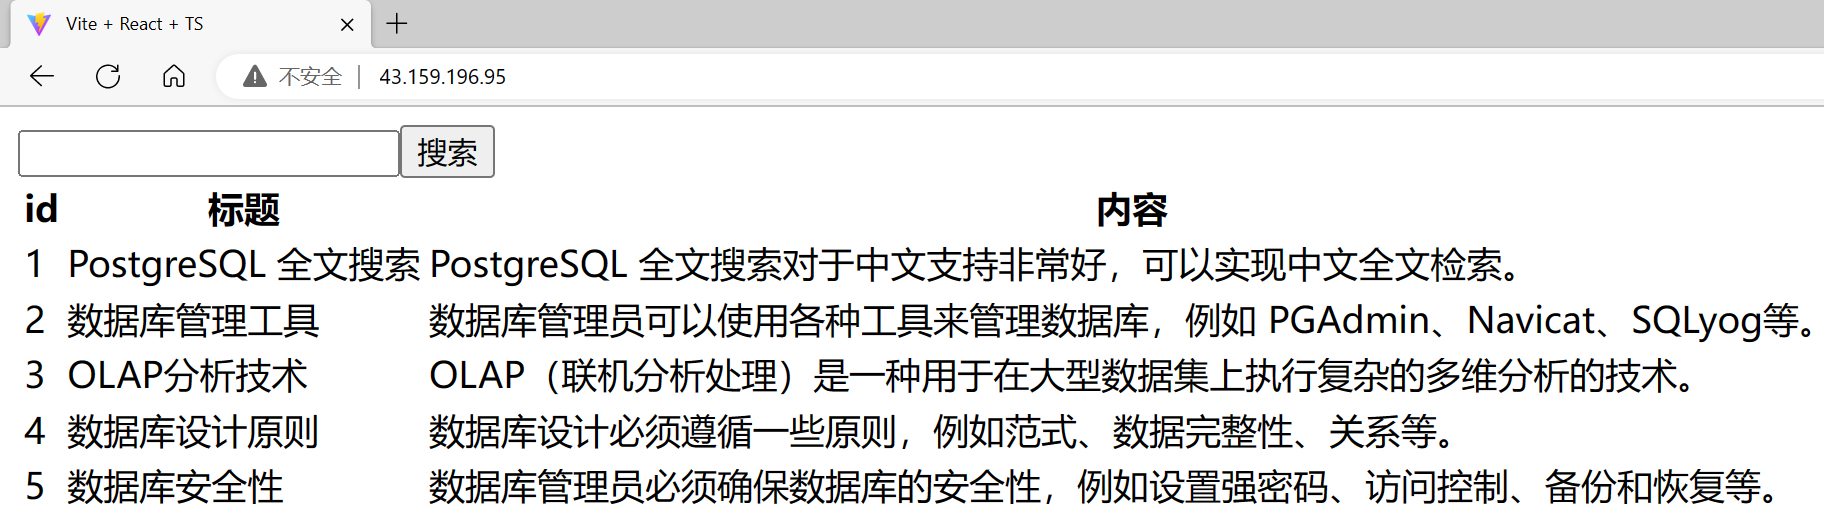
网站首页
搜索关键字 “数据”

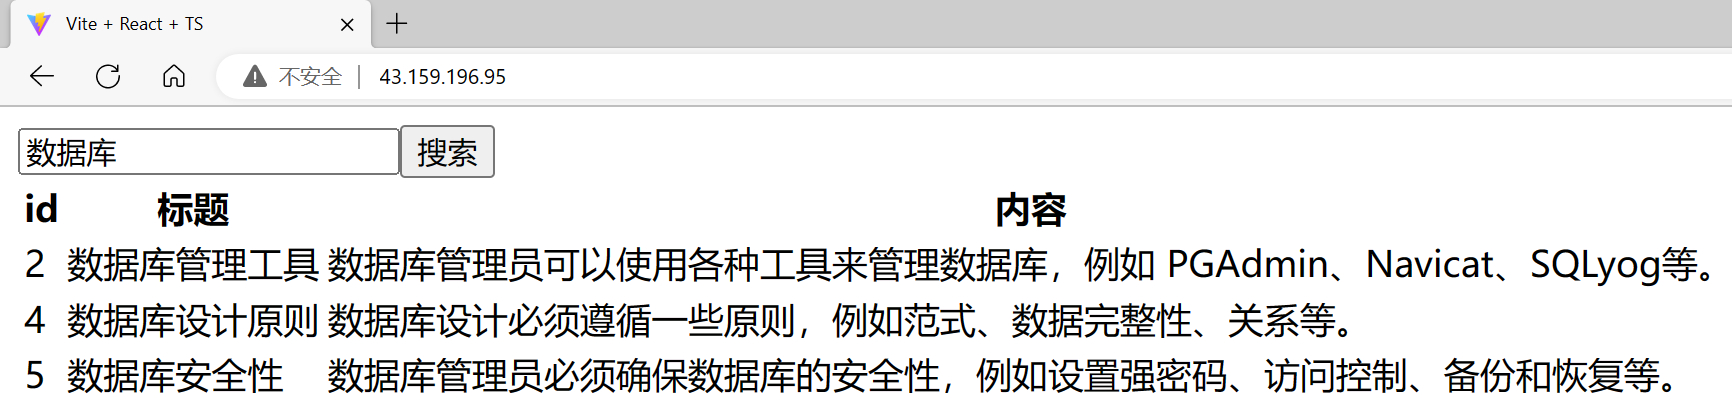
搜索关键字 “数据库”
总结
对于上述所有过程,都可以通过编写 Makefile 文件完成,Makefile 用于自动化构建和管理程序编译过程,具体Makefile文件参考代码仓库。从学习成本和开发效率来说,比 Docker 好,而且 Docker 对于小型项目来说还是太重了。